A Step-by-Step Guide to Powering Your Shed with Solar Panels
Introduction
Are you tired of relying on traditional power sources for your shed? If so, it’s time to consider harnessing the power of the sun. Solar panels are a sustainable and cost-effective way to power your shed, providing you with clean and renewable energy. In this article, we will guide you through the process of hooking up solar panels to power your shed, helping you take a step towards a greener future.
Assessing Your Energy Needs
Before diving into the installation process, it’s important to assess your energy needs. Understanding how much power you require will help you determine the number and size of solar panels you need. Start by making a list of the electrical appliances and devices you plan to use in your shed, along with their power ratings in watts.
Next, calculate the total wattage by adding up the power ratings of all your devices. This will give you an estimate of the daily energy consumption in watt-hours (Wh). Keep in mind that solar panels produce direct current (DC) electricity, so if your shed requires alternating current (AC) power, you will also need an inverter to convert the electricity.
Choosing the Right Solar Panels
Once you have determined your energy needs, it’s time to choose the right solar panels for your shed. There are two main types of solar panels: monocrystalline and polycrystalline. Monocrystalline panels are more efficient and produce more power in limited space, making them ideal for smaller sheds. On the other hand, polycrystalline panels are cheaper and better suited for larger sheds with ample roof space.
Consider the wattage and efficiency of the solar panels as well. Higher wattage panels produce more power, while higher efficiency panels convert a greater percentage of sunlight into electricity. It’s also important to ensure that the solar panels you choose are durable and can withstand the weather conditions in your area.
Positioning and Mounting the Solar Panels
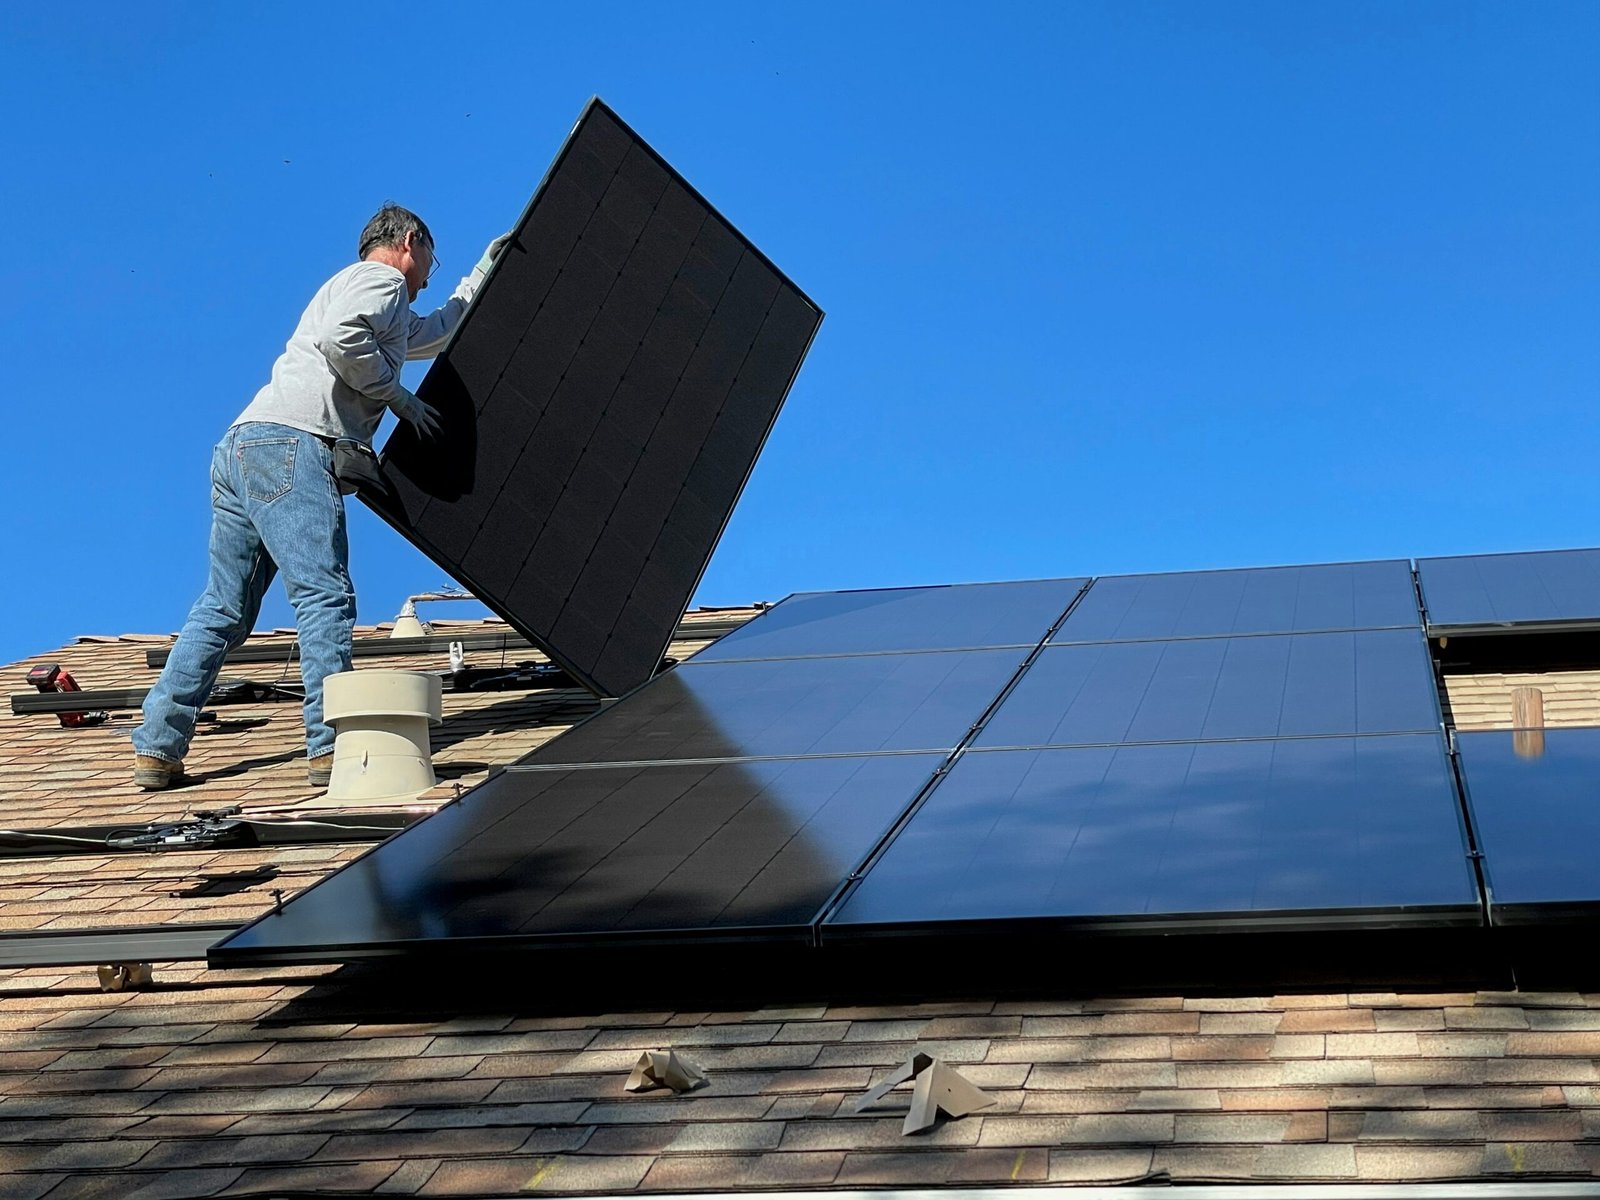
The positioning and mounting of your solar panels play a crucial role in maximizing their efficiency. Ideally, the panels should be installed on a south-facing roof or mounted at an angle that allows them to receive direct sunlight for the majority of the day. This ensures maximum exposure to sunlight and optimal energy production.
When it comes to mounting options, there are a few choices to consider. The most common options include roof mounts, ground mounts, and pole mounts. Roof mounts are the most popular choice for sheds, as they utilize the existing roof structure. Ground mounts are suitable if you have ample space around your shed, while pole mounts are ideal for sheds without a roof.
Wiring and Connection
Once the solar panels are in place, it’s time to wire and connect them to your shed’s electrical system. This step requires careful consideration and attention to detail to ensure a safe and efficient setup.
Start by installing a charge controller between the solar panels and the batteries. The charge controller regulates the flow of electricity, preventing overcharging and extending the life of the batteries. It also protects the batteries from damage caused by excessive discharge.
Next, connect the charge controller to the batteries using appropriate wiring. It’s important to use the correct wire size to minimize voltage drop and maximize efficiency. Consult the manufacturer’s guidelines or seek professional advice to determine the appropriate wire size for your setup.
Finally, connect the batteries to an inverter if your shed requires AC power. The inverter converts the DC electricity stored in the batteries into AC electricity that can be used to power your devices. Again, ensure that the wiring is done properly and safely to avoid any electrical hazards.
Maintaining Your Solar Power System
Once your solar power system is up and running, it’s important to maintain it regularly to ensure optimal performance and longevity. Here are a few maintenance tips:
- Clean the solar panels regularly to remove any dirt, dust, or debris that may obstruct sunlight.
- Inspect the wiring and connections for any signs of wear or damage.
- Monitor the charge controller and batteries to ensure they are functioning properly.
- Check the inverter for any error codes or malfunctions.
- Keep an eye on the energy production and compare it to your energy needs to ensure it’s sufficient.
By following these maintenance practices, you can prolong the lifespan of your solar power system and maximize its efficiency.
Conclusion
Hooking up solar panels to power your shed is an excellent way to embrace renewable energy and reduce your carbon footprint. By assessing your energy needs, choosing the right solar panels, positioning and mounting them correctly, and ensuring proper wiring and connection, you can create a reliable and sustainable power source for your shed. Remember to maintain your solar power system regularly to enjoy its benefits for years to come. So, why wait? Start harnessing the power of the sun and enjoy the benefits of a greener and more sustainable shed.
- Splash of Color: Creative Garden Shed Painting Ideas to Transform Your Backyard Oasis
- The Benefits and Types of Mobile Home Sheds
- History of the World in 100 Sheds
- Garden Shed Roof Repair Guide: Fix Leaks Quickly and Effectively
- Effective Garden Shed Pest Control Methods
- Designing Your Perfect Custom Garden Shed: A Comprehensive Guide
- Best Large Garden Sheds for Your Backyard: Discover the Perfect Storage Solution
- Transform Your Garden Shed: Creative Painting Ideas to Refresh Your Outdoor Space
- Top Small Garden Shed Ideas: Maximizing Your Garden Space
- The Pros and Cons of Metal Garden Sheds: Is It the Right Choice for You?


Leave a Reply